How to Choose the Right Bathroom Tiles: Slip & Layout Guide
How to Choose the Right Tiles for Your Bathroom: Slip Resistance, Grout Tips, and Layout Ideas
Choosing the perfect tiles for an Australian bathroom involves more than just picking a color you like. Given our climate and the high-moisture environment of wet rooms, your selection must balance aesthetics with rigorous safety standards and long-term durability. Whether you are renovating a heritage terrace in Sydney or building a modern coastal retreat in Perth, understanding how to choose the right tiles for your bathroom: slip resistance, grout tips, and layout ideas is the foundation of a successful project.
In this guide, we provide a deep dive into the technical and stylistic elements that define a high-quality bathroom installation. From understanding P-ratings to optimizing tile orientation for small spaces, this resource serves as your professional roadmap to a beautiful, compliant, and functional bathroom.
See more: Small Spaces, Big Style: How Subway Tiles Transform Kitchens & Bathrooms
The Fundamentals of Australian Bathroom Tile Selection
In the context of Australian building standards (AS 3740), a bathroom tile is not merely a decorative surface; it is a critical component of the home’s waterproofing and safety system. The “right” tile is one that can withstand constant thermal expansion, chemical exposure from cleaning agents, and the physical demands of daily foot traffic.
Material Matters: Porcelain vs. Ceramic
While they may look identical to the untrained eye, the density and water absorption rates differ significantly:
- Porcelain: Fired at higher temperatures, making it denser and less porous. Ideal for floor applications and high-traffic areas.
- Ceramic: Generally softer and easier to cut, making it a cost-effective choice for walls.
- Natural Stone: Beautiful but requires regular sealing to prevent moisture ingress and staining.
Why Slip Resistance is Your Most Important Metric
When homeowners ask how to choose the right tiles for your bathroom, slip resistance should be the first topic of conversation. In Australia, slip resistance is measured using specific tests to ensure safety in wet conditions.
Understanding Slip Ratings (P-Ratings)
The current Australian Standard (AS 4586) uses the “P” (Pendulum) rating system. For residential bathrooms, these are the benchmarks you should look for:
| Area | Recommended Rating | Description |
| Main Bathroom Floor | P3 or P4 | Balanced grip for wet feet without being too abrasive. |
| Shower Base | P4 | Enhanced grip for soapy, high-water-flow areas. |
| Wall Tiles | N/A | Slip resistance is not required for vertical surfaces. |
The Texture vs. Cleaning Trade-off
A common mistake is choosing a tile that is too textured. While a P5 rating offers incredible grip, the deep indentations can trap soap scum and skin cells, making the bathroom difficult to clean. Aim for a “Lappato” (semi-polished) or a structured matte finish to find the “Goldilocks” zone of safety and maintenance.
Mastering Layout Ideas to Transform Your Space
The way you lay your tiles can mathematically change the perception of space. In many Australian homes, bathrooms are compact, making layout optimization essential for a premium feel.
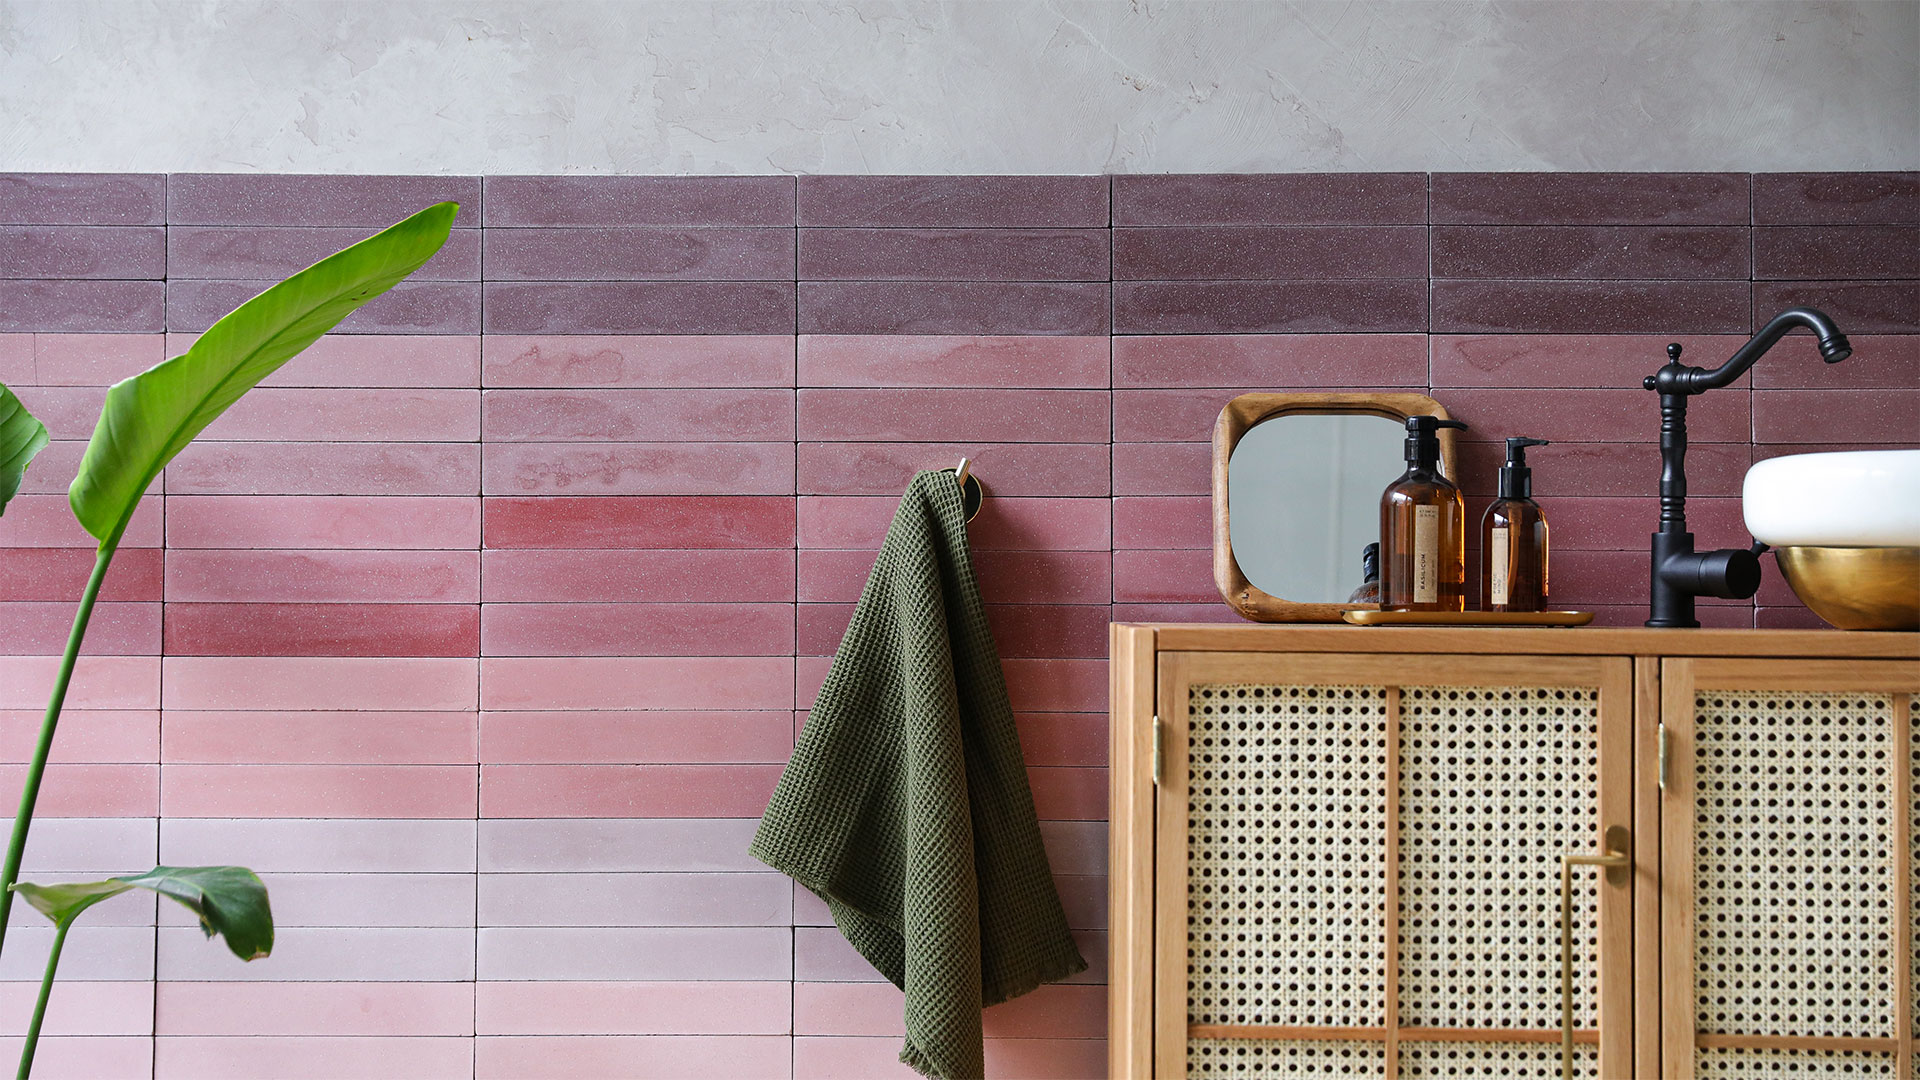
1. The Vertical Stack (Modern & Linear)
By laying rectangular tiles vertically, you draw the eye upward toward the ceiling. This is a powerful trick for bathrooms with low ceilings or for creating a contemporary, “grid-like” aesthetic.
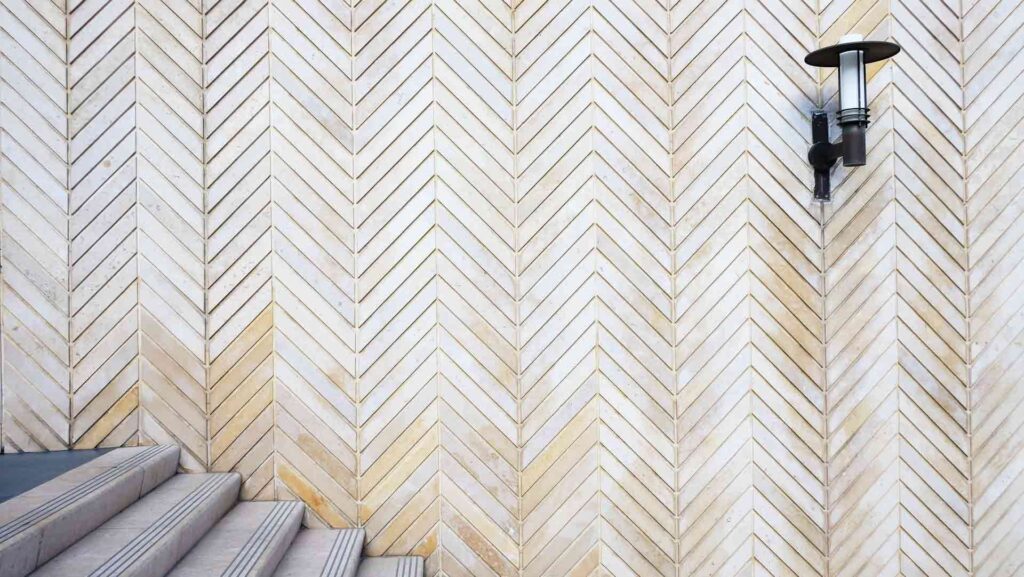
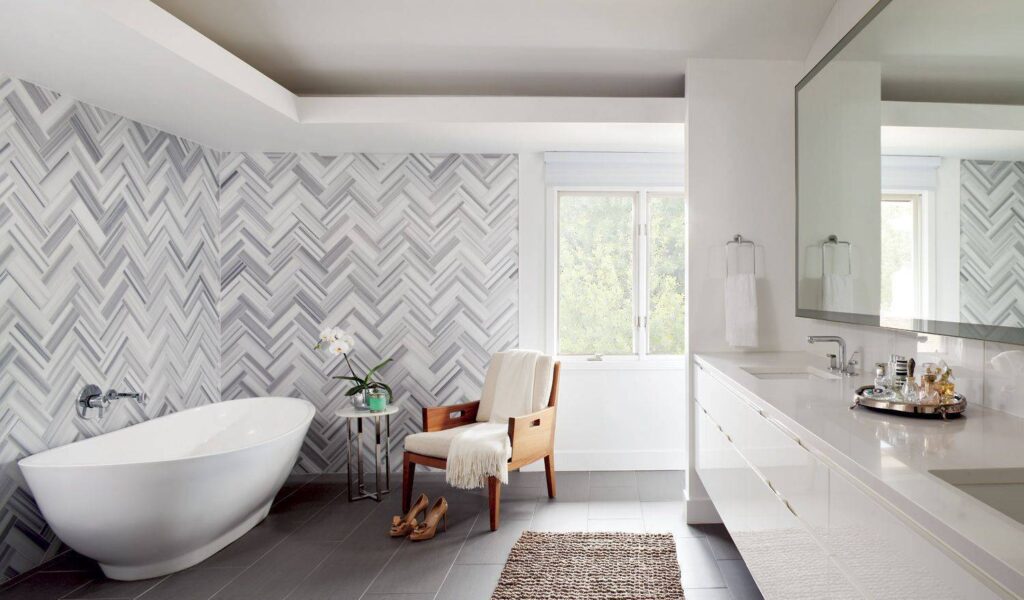
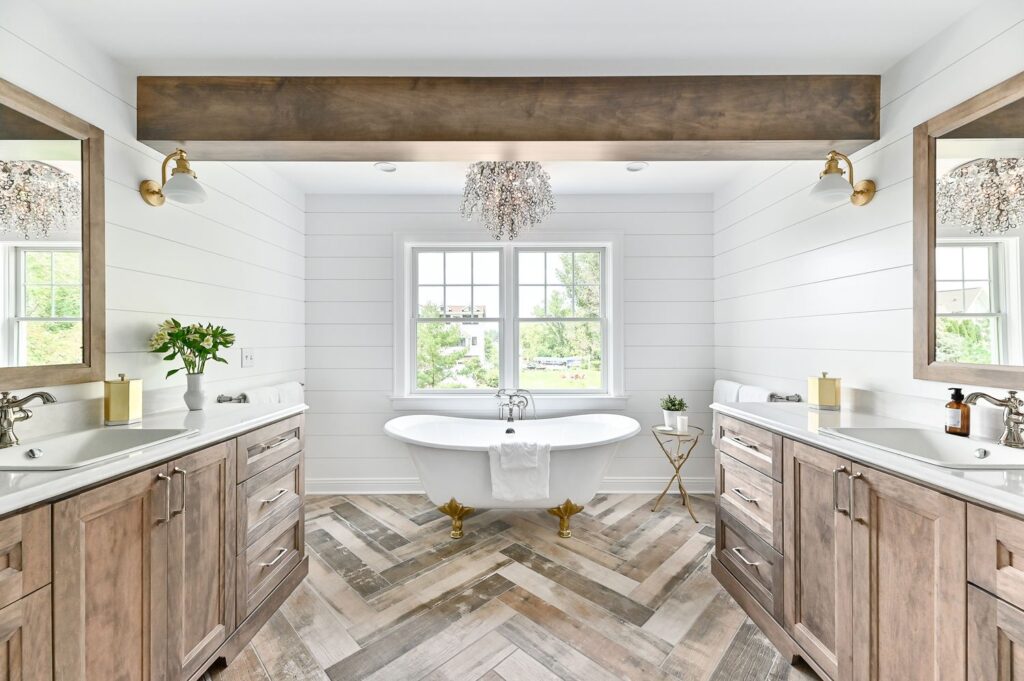
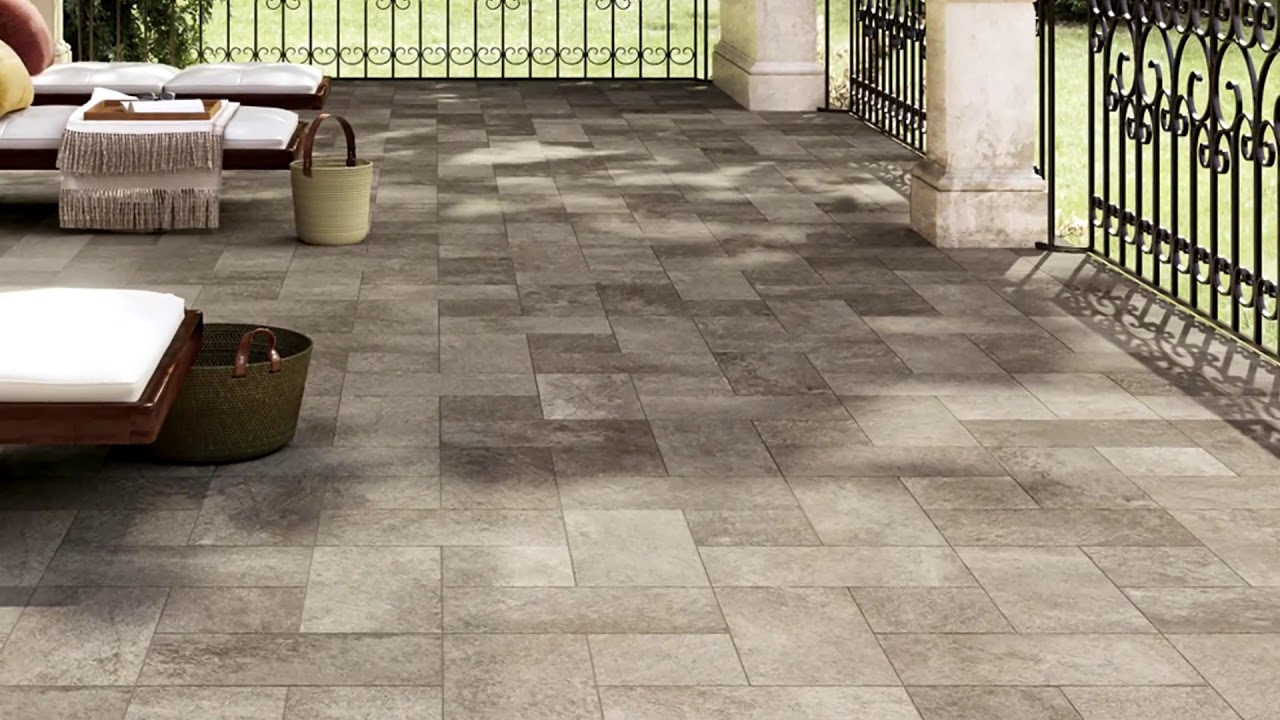
2. The Herringbone Pattern
A classic choice for feature walls. Using a 1:3 or 1:4 ratio tile in a herringbone pattern adds texture and movement. It is particularly effective when using a contrasting grout color to highlight the geometry.
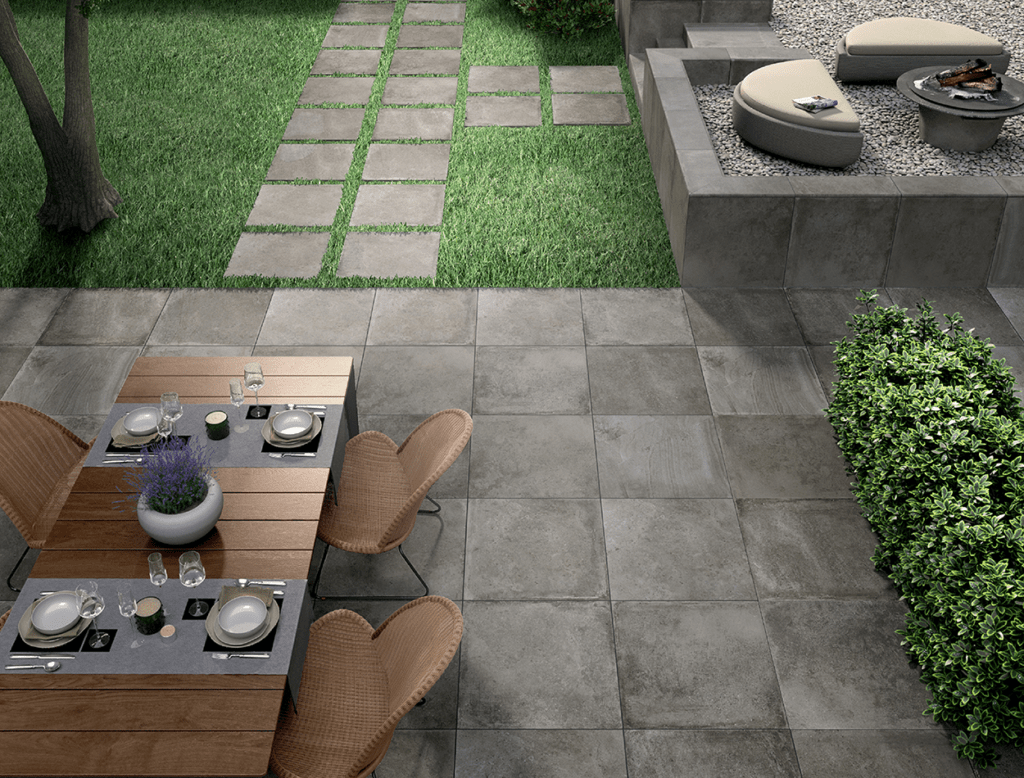
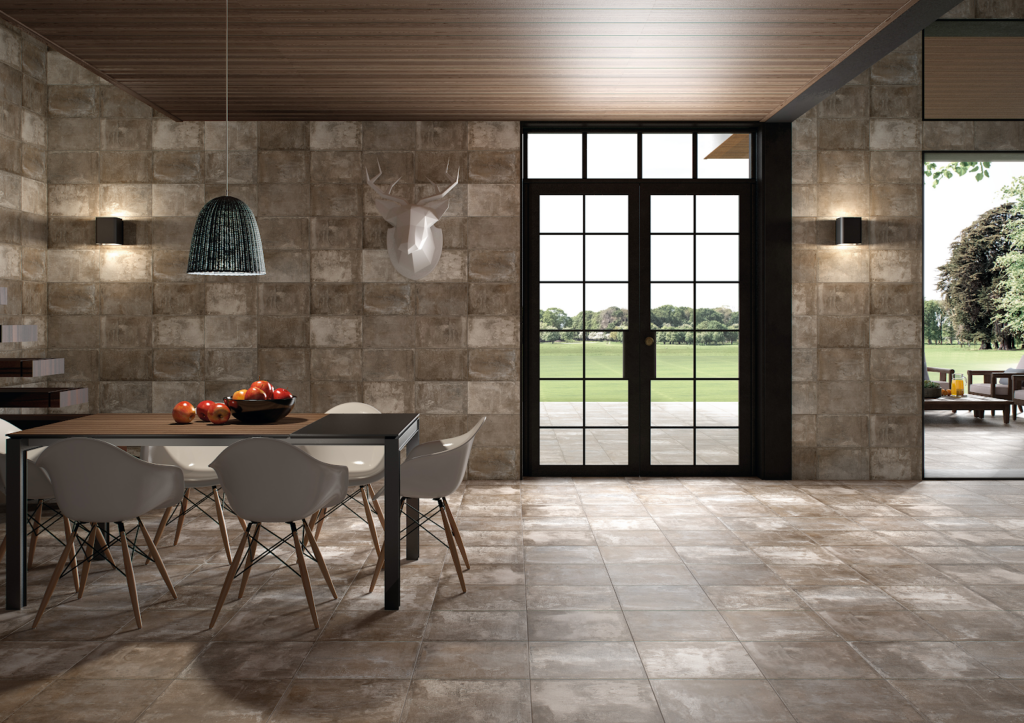
3. Large Format Tiles (LMT)
Using 600x600mm or 600x1200mm tiles reduces the number of grout lines. Fewer grout lines mean a more seamless look and, crucially, less area for mold to grow. This is the gold standard for modern Australian minimalism.
Professional Grout Tips: The Secret to Longevity
Grout is often an afterthought, but it is the “glue” that defines the longevity and cleanliness of your bathroom. If you choose the right tiles but the wrong grout, the entire installation can fail prematurely.
- Color Matching: For a seamless, stone-like look, match the grout color exactly to the tile. For a “Subway” look, use a contrasting charcoal or light grey.
- Epoxy Grout: While more expensive and difficult to install than cementitious grout, epoxy is waterproof and virtually stain-proof. It is highly recommended for shower floors.
- Grout Line Width: Rectified tiles (tiles with perfectly straight, machine-cut edges) allow for narrow 1.5mm grout lines, creating a sleek, high-end finish. Non-rectified tiles require wider lines (3mm+) to hide slight size variations.
Step-by-Step Framework for Choosing Your Tiles
Follow this professional sequence to ensure no detail is overlooked:
- Define the Palette: Start with your “hero” tile (usually a patterned floor or a textured feature wall).
- Check Compliance: Ensure the floor tile meets the P3/P4 slip resistance requirement.
- Coordinate the Walls: Select a neutral wall tile that complements the hero tile without competing for attention.
- Calculate Quantities: Always order 10–15% extra for “wastage” (cuts, breakages, and future repairs).
- Select the Grout: Choose a color that hides dirt (mid-greys are usually best) and a formula suited for wet areas.
Common Mistakes to Avoid in Bathroom Tiling
- Ignoring Light Sources: A dark tile might look great in a showroom, but in a bathroom with no natural light, it can make the space feel like a cave.
- Mixing Too Many Patterns: Stick to one “busy” element. If you have a bold floor, keep the walls simple.
- Forgetting the “Fall”: Large tiles on a shower floor require a professional tiler who can create a “diagonal cut” to ensure water drains correctly. If you want to avoid these cuts, use smaller mosaic tiles in the shower base.
Internal & External Resource Suggestions
Internal Linking Strategy:
- Anchor Text: “Latest Trends in Australian Bathroom Renovations”
- Anchor Text: “How to Calculate Tile Wastage for Your Project”
- Anchor Text: “Guide to Waterproofing Wet Areas”
Authoritative External References:
- Standards Australia: Refer to AS 3740-2021 for waterproofing and AS 4586 for slip resistance classifications.
- CSIRO: For technical data on ceramic and porcelain material testing in the Australian climate.
Frequently Asked Questions (FAQ)
What is the best tile for a small bathroom?
Large format tiles (600x600mm) are actually better for small bathrooms. They create fewer grout lines, which reduces visual clutter and makes the floor space appear larger and more continuous.
Can I use floor tiles on the wall?
Yes. Floor tiles are generally stronger and can be used on walls. However, you cannot use wall tiles on the floor as they are not designed to bear weight and lack the necessary slip resistance.
How do I prevent grout from turning black?
The “black” is usually mold. To prevent this, ensure your bathroom has adequate ventilation (an exhaust fan sized for the room), use a high-quality sealer on cement-based grout, or opt for epoxy grout which is non-porous.
Do I need to seal my bathroom tiles?
If you have glazed porcelain or ceramic tiles, you do not need to seal the tile surface. However, natural stone (marble, travertine, slate) must be sealed before and after installation to prevent water damage.
What is the most slip-resistant tile finish?
A “Matte” or “Structured” finish typically offers the highest slip resistance. Look specifically for a P4 rating if safety is your primary concern, especially for elderly users or young children.
Conclusion: Making Your Final Choice
Understanding how to choose the right tiles for your bathroom: slip resistance, grout tips, and layout ideas is the bridge between a room that looks good and a room that performs well. By prioritizing a P3 or P4 slip rating for floors, selecting grout that offers durability over just aesthetics, and using layout patterns to enhance your room’s dimensions, you ensure a high-return investment in your home.