Hidden Facts about Herringbone Tiles in 2022
Herringbone tiles may be the answer to the transformation of your home space and create an unbelievable view. Contrary to the belief of some people that installing herringbone tiles is a nearly impossible task, they are not more difficult to lay as many others. Only that you need to understand what exactly you want to do, the steps and tools required, and adequate planning.
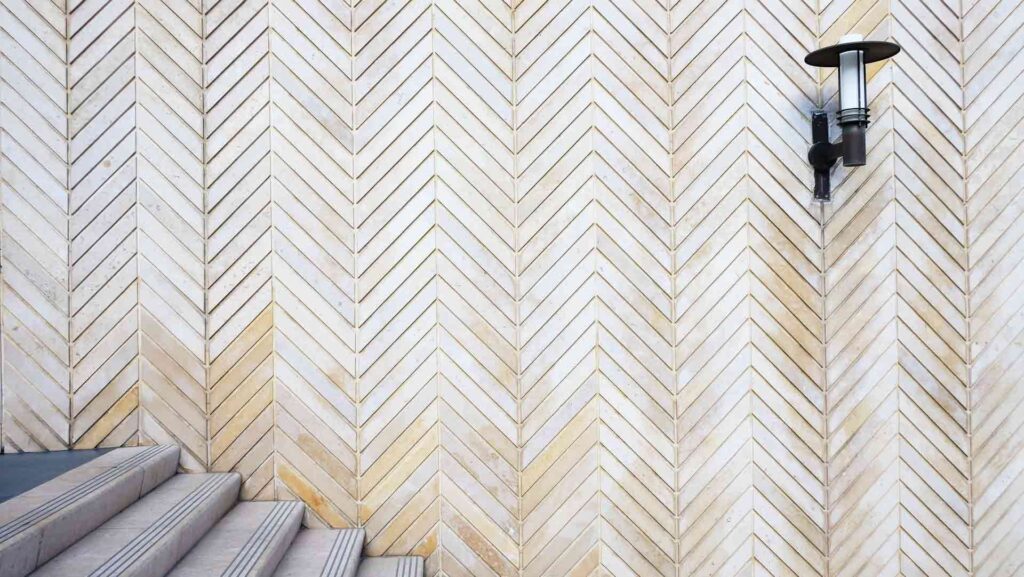
As for the angle of laying the tiles, the patterns could have a 45-degree angle or a 90-degree angle. Each tile has a rectangular shape, which resembles the herring fishbone. In addition, if you find it hard to determine where the herringbone tiles arrangement will start, this guide can show you where to start.
In addition to making a plan, you must be ready to execute that plan and cut the feature for the best output. Here we will explain you the best reasons of installing herringbone tiles to improve your home decoration. You can install them on your kitchen walls, dining, bar, splashback, bathroom wall, and any floor. Herringbone tiles have a few things that enhance the chance of creating the direction of the flow.
An Overview of Herringbone Tiles Laying
A simple way to begin to start is to identify the center of the space and start the work from there outwards. This method results in having a symmetrical arrangement of these herringbone tiles. However, if you prefer to start with a full tile on one of the ends of the area, you can begin your pattern from one end of the room. You can start from the top, bottom, or either side of the site. In this way, you can also minimize the number of cuts you will make in the end.
When laying herringbone tiles on a wall, you may also want to choose the direction in which your tiles will run. That is, will you prefer to apply them across the border, towards the top, or down the wall? As for tiling the floor to lead your herringbone tiles? Will you choose to highlight a part or feature in the room? Or will you like to mark out the width and length of the area?
A simple question that people also ask is if there is a way to lay herringbone tiles without laying tiles at 45-degrees and cutting. A simple response is to try out the herringbone pattern tiles in their diverse styles, from marble to concrete-looking ones. Alternatively, you can try out the mosaic sheets, which are relatively easier to lay if you like the DIY approach.
Benefits of Laying Tiles Herringbone
Putting herringbone tiles in their rightful places by adopting basic styles is a great way to transform your space. It also enhances your creative instincts to build a beautiful sight at home or office. The advent of this unique building material dates back over 2000 years during the peak of the Roman Empire. During this period, the herringbone tiles were laid on passageways and on stone materials for state-of-the-art designs back then.
Over the years, the herringbone tiles have moved from the exterior parts to become one of the most fascinating art pieces in the home interior. Today, it has become a prevalent choice among building materials that many designers have found to create stunning looks. The range of options among the available herringbone tiles can really make the features of your kitchen pop out. Apart from the general laying on your floor and wall, it can also highlight some objects. Click here to read about best places where one can get quality outdoor tiles in Australia.
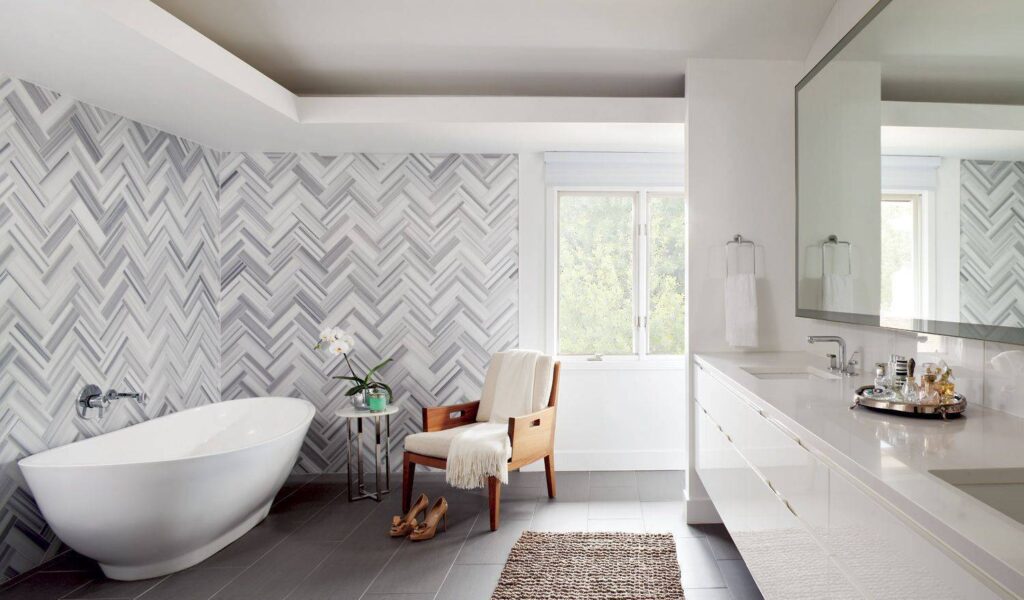
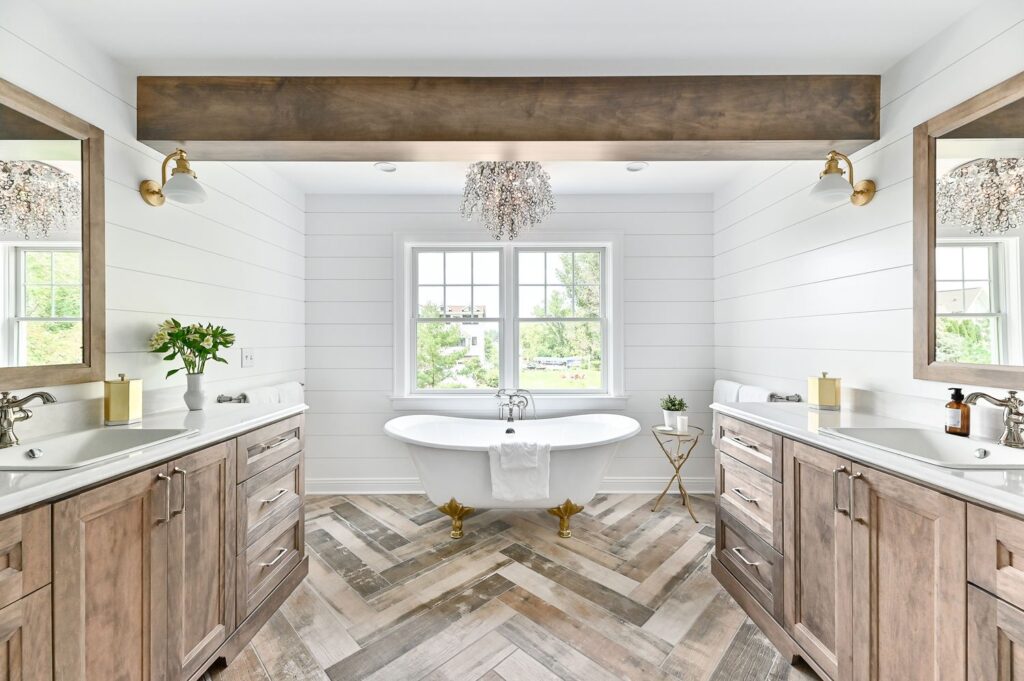
Herringbone tiles on the floor also add an extra dimension to the room by drawing the eyes’ attention. For example, when you use smaller tiles in the room, they draw attention toward the room’s width. As a result, the room appears much more significant than it really is. Therefore, if you want to create an extensive range of form, the herringbone tiles is a great place to look. What other qualities exist for the herringbone tiles design?
Versatile Design
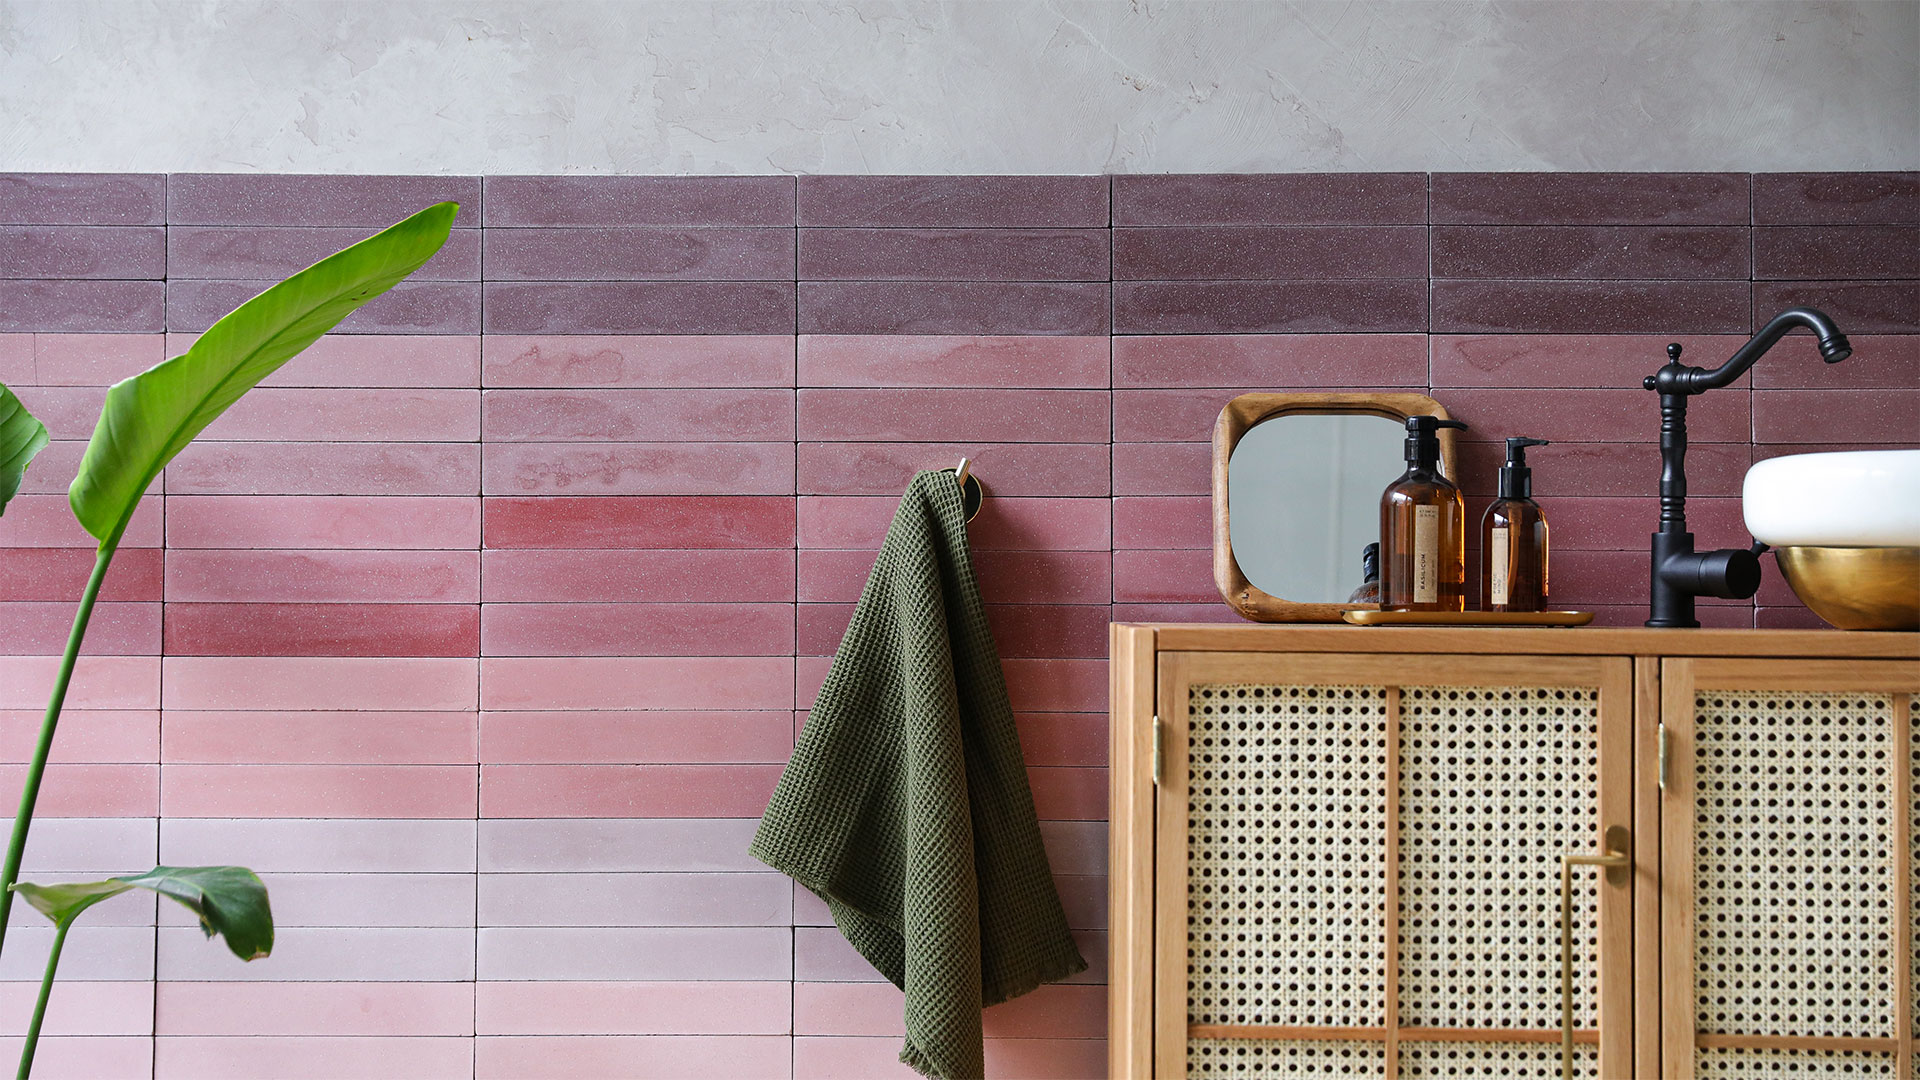
Are you impressed by the features you have read about herringbone tiles already? Wait until you hear much more now. Herringbone tiles are perfect for accentuating a quality on the wall or the floor. An example is the kitchen splashback, a portrait in the living room, or the cabinet at your bar or study. They can bring alive a rather dull environment into a more visually appealing one with class.
The patterns and variants can also suit many ideas and provide different sizes to match them. In terms of durability, the length of time that the design has been in vogue is an assurance that it can stand the test of time. No doubt, the herringbone may still become the most popular choice when decorating the interior portions of the home, trending or not.
How to create herringbone tiles design?
Anyone can get the herringbone tiles fixed with good planning and adherence to the primary tiling method. The essential factors and required tools to do the job are more about learning about it than the action itself. However, it does not underplay the need to work very hard when doing the actual laying and practice cutting tiles.
Meanwhile, there are some essential things to figure out before installing these herringbone tiles in your space. For instance, understand the starting point, the tiles’ flow or direction, and the finishing touches. When laying herringbone patterns on the floor or wall, there are two possible installation angles: 45-degrees and 90-degrees to the next one. This arrangement in its beauty is what observers saw in the herrings fishbone from where the name came. You can read about Restoring your home after water damage by clicking here.
Furthermore, you should understand how to start laying the herringbone tiles. Before starting, you should identify the center of the area or space where you want to apply them. Then begin by placing the first set of tiles you need on the ground, depending on the variant you choose. Continue to lay them outwards from that point onwards. Also, your pattern can start from one end of the room when dealing with floors.
Alternatively, when laying herringbone tiles on the wall, you should choose to either start laying the tiles from top to bottom. Or you can start applying the tiles from the bottom of the wall to the top to wherever you choose to stop. Now that we are here, the rest of this work is yours.